A web service runs an HTTP application: an API, a backend, or a website that needs server-side code. Bex builds it from Git or runs a prebuilt container. Public URLs use the Bex instance's configured domain and routing; you can add custom domains after deployment.
New hosted accounts should finish Hosted setup and
Billing setup before creating a service. Without a
workspace that is payment-ready, creates are refused with PAYMENT_REQUIRED.
For an internal-only server, choose a private service. For files that need no server-side execution, choose a static site.
Prepare your application
Your server must listen on 0.0.0.0 and the port injected as PORT.
Listening on localhost makes the process inaccessible to the service router.
Bex's default container port is 3000; do not assume Render's port default
or automatic port detection applies.
If your image uses its own port setting, configure it to match the service's
port. For example, the local quickstart sets
WHOAMI_PORT_NUMBER for the traefik/whoami image. Use an unprivileged port
such as 3000 or 8080; tenant containers drop Linux capabilities.
Decide how to build and start the app:
| Source | Required preparation |
|---|---|
| Git with Docker | Commit a Dockerfile, choose its path, and ensure its default command starts the server. |
| Git with a native runtime | Provide a build command and a start command, such as npm ci && npm run build and npm start for an app that defines those scripts. |
| Container image | Push a runnable image; select registry credentials if it is private. |
Create the service
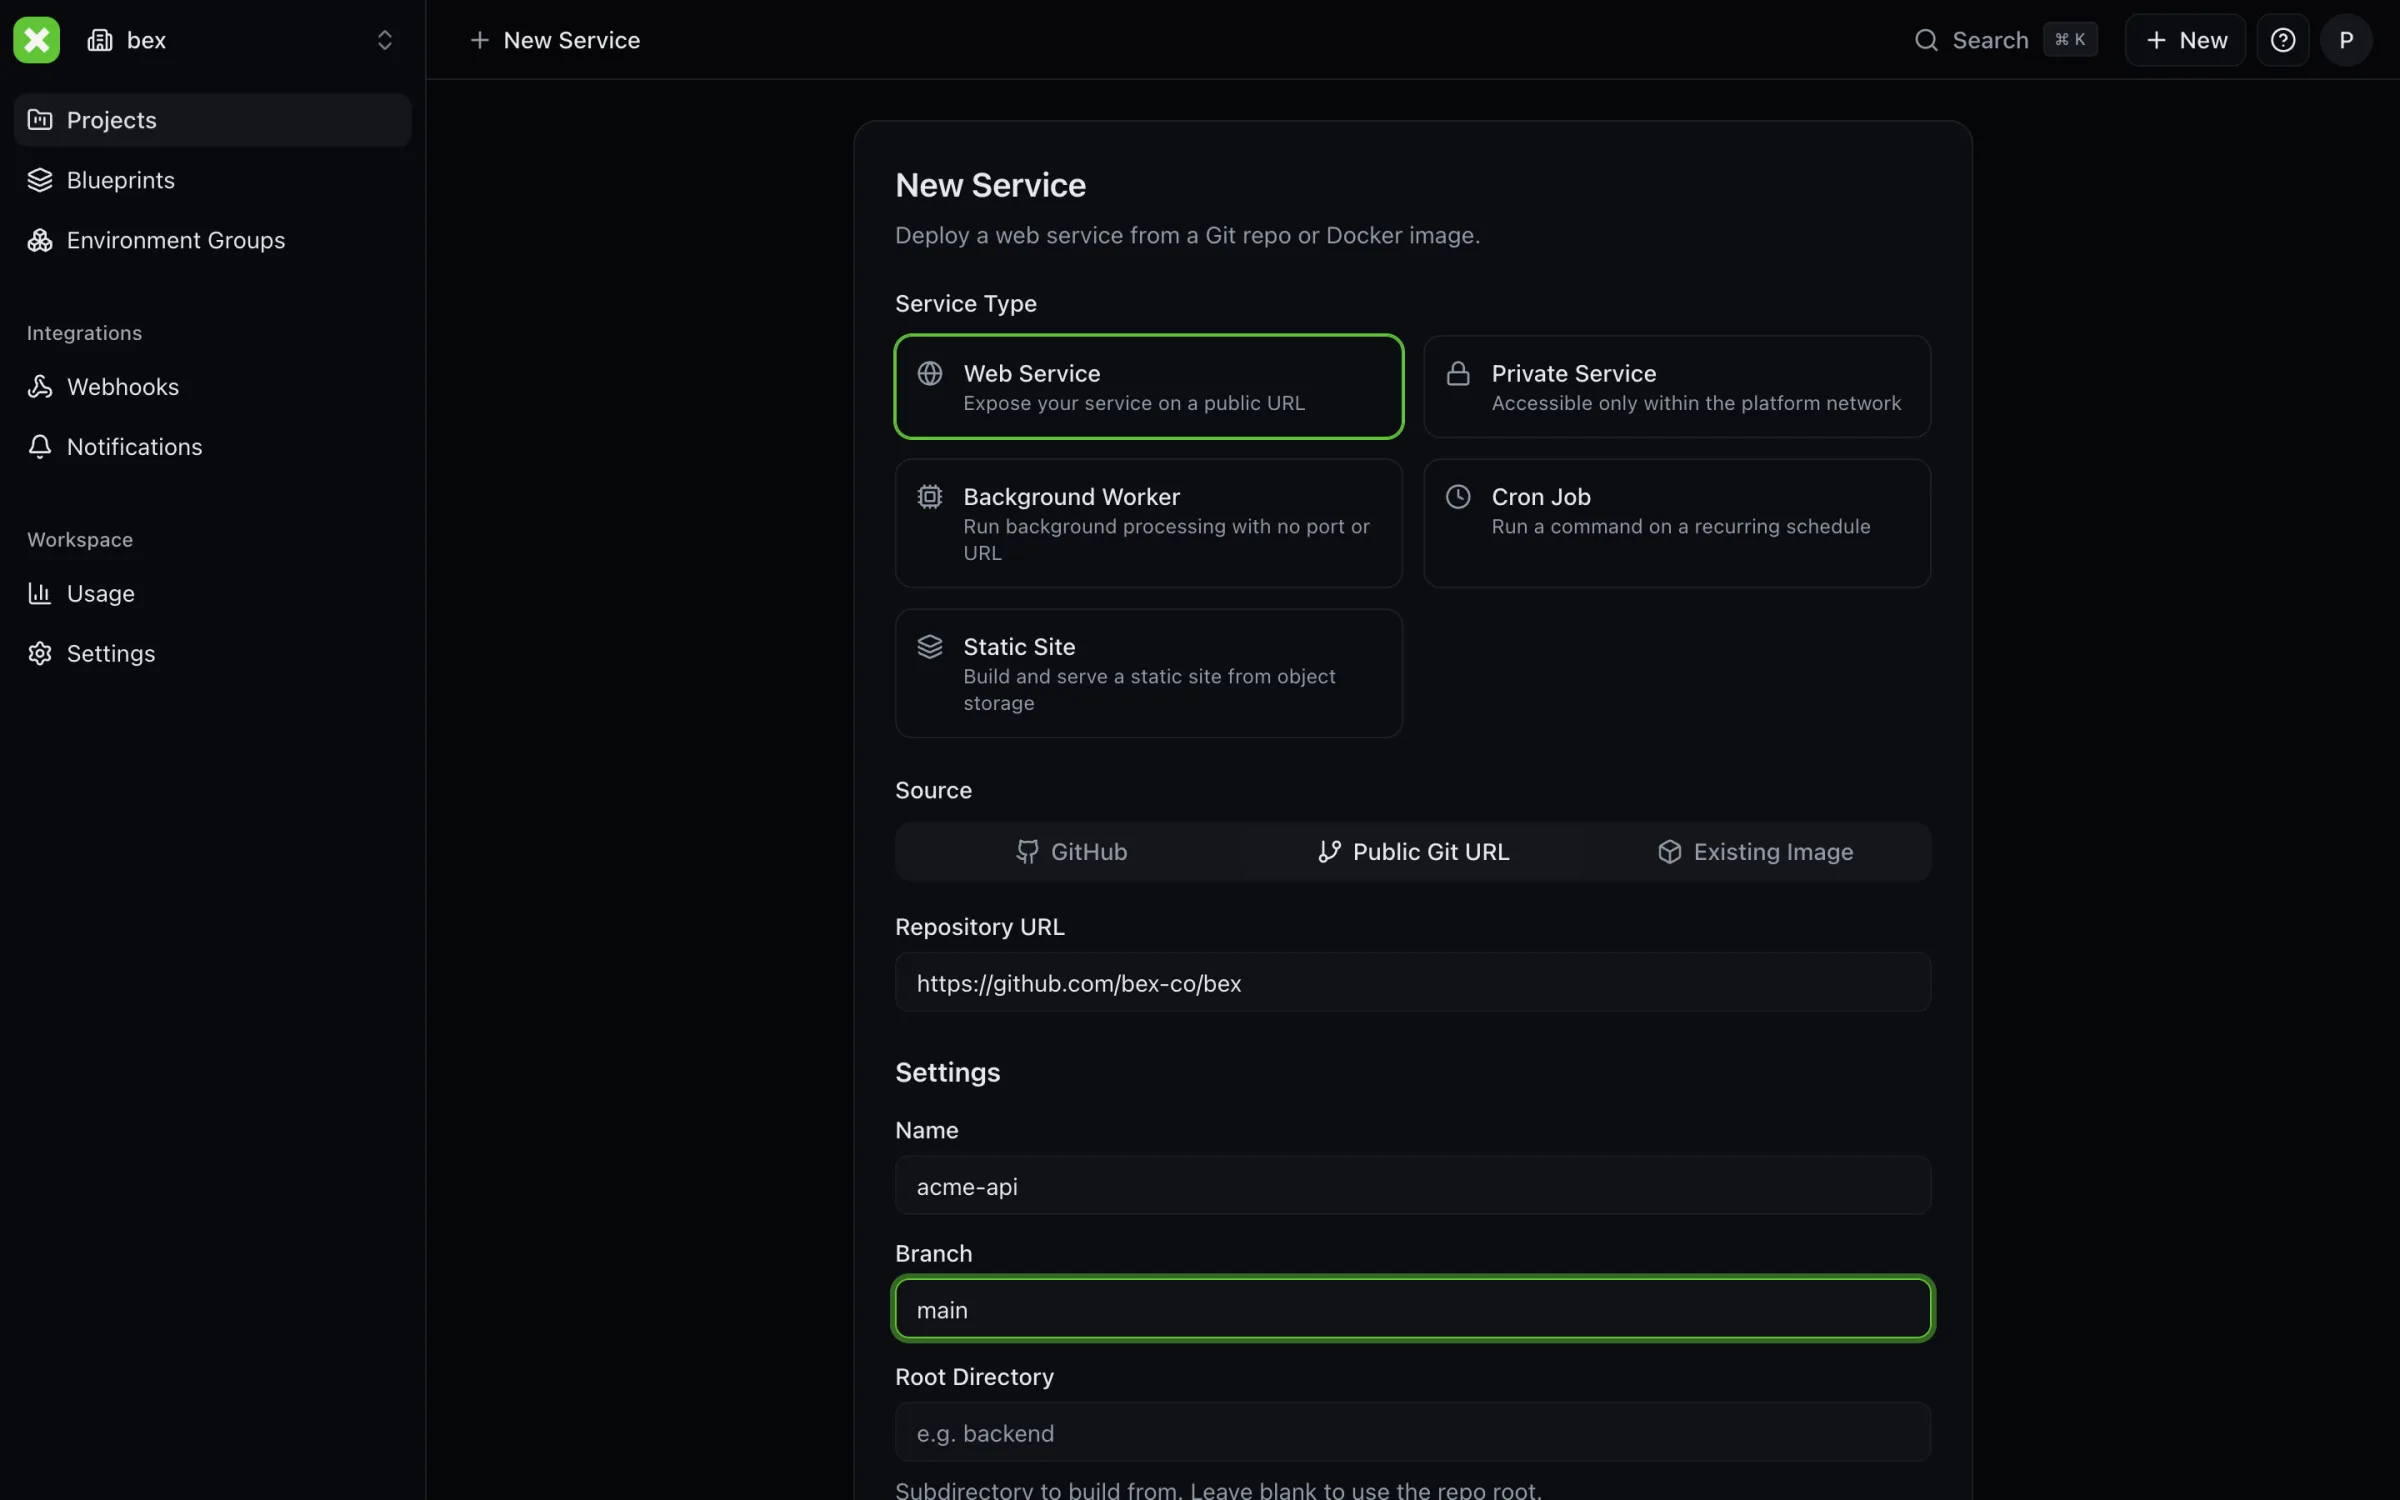
- Open the Bex dashboard in the workspace that should own the service and choose New Web Service.
- Select a connected GitHub repository, provide a public Git URL, or choose an existing image. Private repositories require a GitHub connection with access to that repository.
- Set the name and source settings. For Git, check the branch and any root directory; for an image, check the full image reference.
- Choose the runtime and fill in its build/start settings. Select the appropriate instance plan and project/environment where available.
- Add required environment variables and secrets, review the configuration, and create the service.
For configuration stored in Git, use a render.yaml Blueprint
with type: web. The Blueprint guide explains validation and API authentication.
Verify the first deployment
Open the deploy detail from the service's history. Check build output, then runtime logs, and wait for the deployment to become live. Open the assigned public URL and test a real application request.
A successful process start is not enough to prove application readiness.
Configure a health check when you have a suitable endpoint.
An unset path uses TCP checks; a configured HTTP path must return a 2xx or 3xx
response. Avoid choosing / if your API legitimately returns 404 there.
Free-tier web services may auto-hibernate when idle. The
first request after sleep wakes the service through the activator and is not
your application's response — do not treat the activator /healthz alone as
application readiness.
Troubleshoot
| Symptom | What to inspect |
|---|---|
| Repository cannot be cloned | Repository URL, branch, GitHub installation access, and the selected connection. |
| Build fails | Build logs, root directory, Dockerfile path, lockfiles, and required build-time configuration. |
| Process exits repeatedly | Runtime logs, start command, dependency connections, and required secrets. |
| Health checks fail | Listener host and port, configured HTTP path, and whether startup completes within the health-check budget. |
| Service is ready but has no public URL | Platform-domain configuration, subdomain policy, custom domains, and routing status. |
Next steps
- How deploys work — releases, source changes, and failures.
- HTTP shutdown drain — finish accepted requests on SIGTERM.
- Custom domains — configure your own hostname.
- Scaling — adjust application capacity.
- Logging — inspect application output.